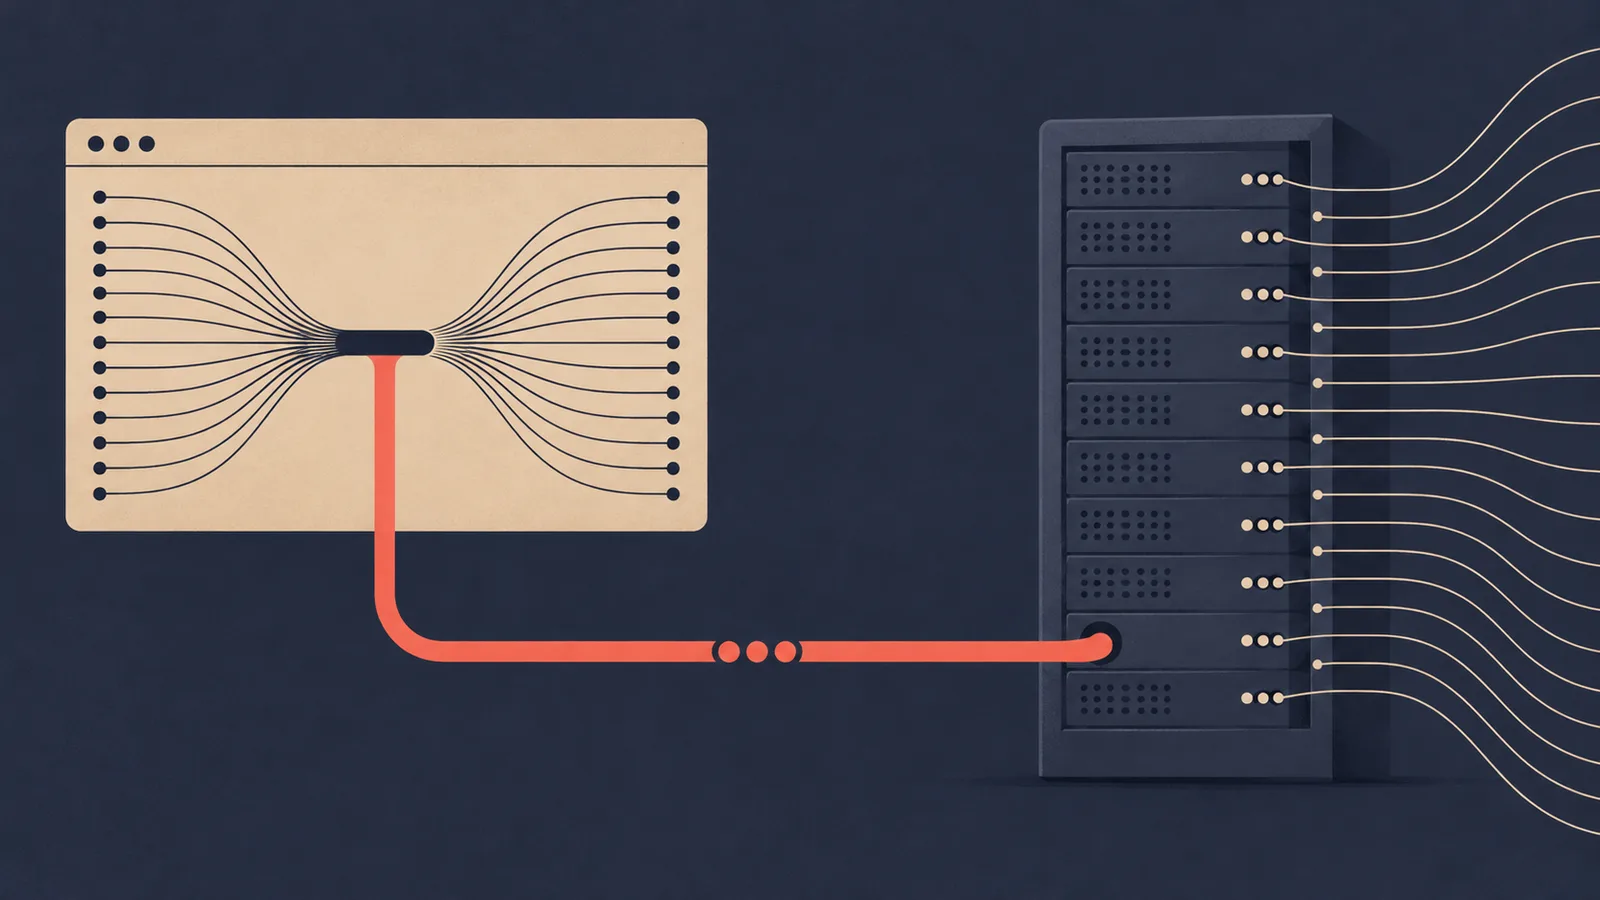

Every bidder adapter you add to a Prebid.js wrapper carries real costs: extra HTTP requests, longer auction timeouts, larger JavaScript bundles, and more maintenance surface. The decision to add a partner is therefore not a yes or no question, it is a measurement question. This article lays out a protocol we use when onboarding demand partners into a Prebid integration: what to verify before you write a line of config, how to add the adapter correctly, how to instrument the auction, and how to judge performance over a fixed evaluation window.
Adapter sprawl has a measurable price
Prebid.js runs an auction across every bidder you have configured, in parallel, before the primary ad server call. Each additional adapter adds a network request to every single auction, even when that bidder returns no bid. A wrapper with twelve adapters that bid稀 poorly behaves worse than a wrapper with six adapters that bid well, because browser timeout budget is a shared resource.
The costs compound in three places. First, page weight: each adapter ships its own code inside the Prebid bundle, and unminified or lightly used adapters inflate the script that every visitor must download. Second, auction latency: the auction waits until the timeout fires or all bidders respond, so one consistently slow bidder drags the effective response time for everyone. Third, operational overhead: each adapter has its own parameters, its own consent handling quirks, its own account manager, and its own reporting interface. A team managing fifteen direct adapter relationships spends a meaningful share of its week on coordination rather than optimization.
There is a structural alternative. When a publisher connects to WireAds, that single connection carries demand from multiple exchanges, DSPs, direct brand deals, and Google AdX via Google MCM, all competing inside our SSP against each other for the impression. The publisher adds one adapter, or routes through Prebid Server, and receives the price pressure of many demand sources without maintaining many integrations. We combine Prebid, OpenRTB, Google MCM and direct deals from global and local brand agencies precisely so that publishers do not have to chase adapter sprawl to find incremental CPM. The rest of this protocol applies whether you onboard one partner directly or evaluate an aggregated connection like ours.
Verify the partner before you touch the code
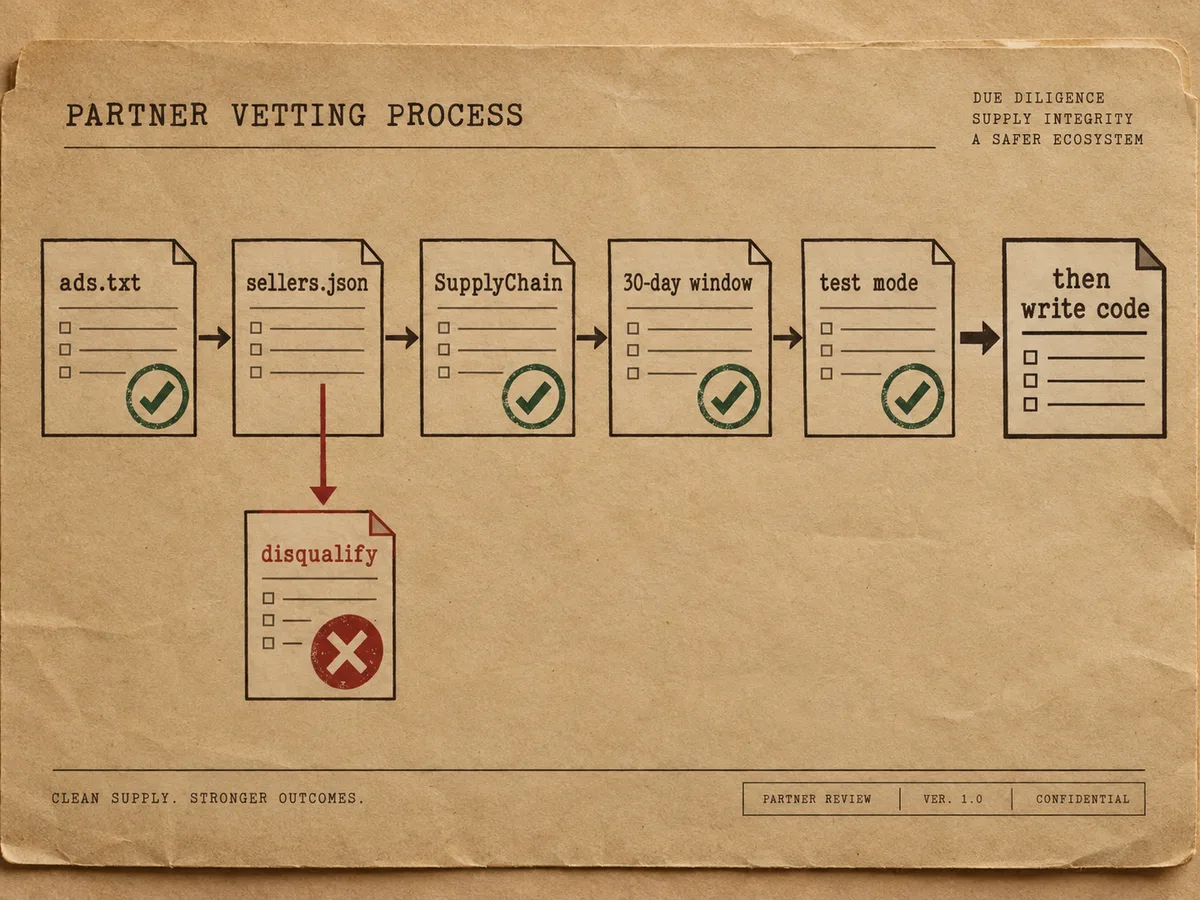
The cheapest partner evaluation is the one you never run, because a five-minute pre-integration check disqualified the candidate. Work through this checklist before any engineer opens a pull request.
Check ads.txt and sellers.json first. A demand partner that cannot document its supply path should not receive your traffic. Pull the partner's sellers.json file and confirm whether your account will appear as a direct seller or a reseller. The sellers.json transparency standard exists exactly for this: it lets you verify a new partner's direct-versus-reseller status before enabling them, and it exposes the chain of intermediaries standing between the advertiser and your inventory. If a partner's sellers.json is missing, stale, or lists your domain with the wrong relationship type, treat that as a disqualifying signal. Buyers increasingly filter or discount inventory with opaque supply paths, so a broken sellers.json hurts the CPMs you can command.
Confirm ads.txt alignment on your side. Once you know the partner's exchange domain and publisher account ID, add the correct line to your ads.txt (and app-ads.txt for app inventory). Bids from a partner whose domain is not declared will be dropped by many buyers downstream, which produces the worst evaluation outcome: a partner that technically bids but earns nothing, and you waste four weeks blaming the partner when the fault sits in a one-line config file.
Ask for the SupplyChain object. Serious partners populate the SupplyChain object in their bid requests, which lets buyers see every hop in the supply path. A partner that does not support supply path transparency will struggle against one that does, all else equal, because buyers price opaque paths with a discount.
Agree on the measurement terms up front. Before integration, define the evaluation window (we recommend 30 days), the metrics that decide success, and the fallback if the partner underperforms. Put it in writing with the partner's account manager. Partners that resist a defined evaluation period usually know why.
Request reference parameters and a test mode. Most mature adapters support a test parameter that returns a sample creative, which lets you validate rendering before live traffic flows. Our integration guides cover this step for publishers connecting through us, because a rendering bug discovered in staging costs an hour, and the same bug discovered in production costs a week of revenue.
Adding the adapter correctly
Once the partner passes the pre-integration checks, the technical work is straightforward but has a specific order of operations that prevents common bugs.
Step 1: Update the build. Prebid.js is modular. Rebuild the bundle with the new bidder adapter included, either through the Prebid CLI build command or by pulling the full build if you do not manage a custom bundle. Verify the adapter name against the Prebid bidder adapter directory, because per-adapter parameter documentation lives there, and adapter names are case-sensitive. A typo in the bidder code string fails silently: the auction runs, the adapter never bids, and the partner reports zero traffic while you search your config for a bug that does not exist.
Step 2: Configure the bidder in adUnits. Add the bidder object to each relevant adUnit with the parameters the directory documents, typically a placement or site ID the partner issues. Scope the bidder to the adUnits where it actually has relevant demand. Blanket-applying every bidder to every slot inflates request volume without improving yield, because most partners have category and geo strengths, and bidding a sports-focused exchange into a finance slot mostly produces no-bids.
Step 3: Set a bidder-level timeout if the partner needs one. Prebid supports per-bidder timeouts. If a partner's infrastructure sits behind a slow region or the partner admits to p95 response times above your auction timeout, cap that bidder rather than raising the global timeout. The global timeout should reflect what your page can tolerate, not what the slowest bidder demands.
Step 4: Validate consent pass-through. If you operate under TCF or honor Global Privacy Control signals, confirm the new adapter reads the consent string correctly. Most modern adapters handle this automatically, but a partner that mishandles consent can either bid unlawfully or suppress its own bidding entirely, and both failure modes look like "low performance" in reports. Test with a consent string present and absent.
Step 5: Confirm creative rendering. Use the partner's test parameters to force a sample creative into each slot size. Check for safeframe behavior, click tracking, and video players if you run VAST demand. A creative that renders outside its container or breaks your layout will cost more in user experience than it earns in CPM.
Instrument the auction before the evaluation window opens
You cannot evaluate what you do not measure, and the measurement must exist before the new bidder serves its first impression. Prebid's analytics layer is the correct tool here: Prebid analytics adapters activate auction performance tracking through the enableAnalytics configuration, and they record per-bidder data including bid rates, bid density by price bucket, and time to respond.
Configure analytics to capture, per bidder and per adUnit:
- Bid rate: the percentage of auctions in which the bidder returned a bid at all.
- Bid density: the distribution of bids across price buckets, which shows whether the partner bids meaningfully or parks everything in the lowest bucket to win cheap impressions.
- Time to respond: p50 and p95 latency, measured against your auction timeout.
- Win rate and rendered impressions: how often the partner's bids actually win the ad server auction and render, which catches discrepancies between Prebid line items and the partner's reporting.
- Error rates: timeout percentage, malformed response percentage, and no-bid reasons where the adapter reports them.
If you run header bidding through our SSP, we surface this per-source data on our side as well, so you can compare what the wrapper saw against what our reporting shows. Discrepancy between the two is itself diagnostic information: a partner whose wrapper-side bid rate is 40 percent but whose rendered count is near zero usually has a key-value or line item mismatch in the ad server, not a demand problem.
One warning about measurement windows: do not evaluate a bidder during an anomalous period. A holiday week, a major site redesign, or a traffic spike from a viral article will distort every metric. Pick a window that resembles your normal operating conditions, and hold everything else constant. If you onboard two partners at once, you cannot attribute a latency increase to either one with confidence. One change at a time is the only clean protocol.
The evaluation window and the metrics that decide
Run the evaluation for a fixed period, 30 days is our recommendation because it covers weekly demand cycles and monthly campaign rotations. Then judge the partner against four questions, in this order.
Question 1: Did the partner add net revenue, not just gross? The correct comparison is revenue per thousand sessions (or per page view set) before and after the addition, not the partner's standalone revenue. A new bidder can win impressions that another bidder would have won anyway at a similar price, which adds reporting lines without adding money. Look at whether overall CPM and viewability-adjusted revenue moved. A partner that wins 5 percent of impressions but shifted overall revenue up by less than the latency it added is not paying for itself.
Question 2: Did the partner degrade auction performance? Compare p95 auction latency before and after. If overall latency rose by more than a few tens of milliseconds, the timeout budget you spent belongs to this partner, and you should either cap its timeout or renegotiate. Also watch page performance metrics: Largest Contentful Paint and interaction latency can move when an extra script and extra requests join every page load, and Core Web Vitals damage carries a cost that no bid report shows.
Question 3: Did the partner's demand quality hold? Review the creatives actually served. Check for ads that redirect, auto-play audio, expand outside their slot, or trigger malware warnings. We hold our demand sources to strict quality standards and filter unwanted ads before they reach publisher inventory, because one malicious creative costs more user trust than a quarter of good CPMs earns. If you onboard partners directly, this filtering job is yours, and it does not scale gracefully past a handful of adapters.
Question 4: Does the operational cost match the revenue contribution? Count the hours spent on this partner during the window: config changes, reporting pulls, account manager calls, troubleshooting. Divide the incremental revenue by those hours. A partner adding meaningful revenue with low maintenance earns its slot. A partner adding marginal revenue with weekly escalations does not, regardless of what its account manager claims.
Common failure modes and how to read them
Several patterns recur in bidder evaluations, and each has a specific diagnosis.
A high bid rate with a low win rate usually means price bucket misalignment: the partner bids just under the prevailing clearing price, which can indicate a deliberate lowball strategy. Check bid density to confirm. A low bid rate with a high CPM on the bids that do arrive suggests the partner only bids on a narrow slice of inventory; that can be fine if the slice is valuable, so segment the analysis by adUnit and geo before deciding. A bid rate that decays over the evaluation window, strong in week one and weak by week four, often means the partner's buyers tested your inventory and walked away; that is a demand quality signal, not a technical one.
Consistent timeouts at a rate above roughly 10 percent of that bidder's auctions indicate infrastructure problems on the partner side. Raise it with their account manager with the latency data attached. Partners that cannot fix chronic timeouts within the evaluation window rarely fix them later.
A rendered count far below the win count points to your own setup: the ad server line items for that partner's price buckets are missing, mislabeled, or out-ordered by a competing line item. Fix the ad server before you judge the demand, because the partner is bidding and losing in GAM, not in Prebid.
When to consolidate instead of adding
After running this protocol across several partners, most publishers reach the same conclusion: the marginal adapter adds less than the marginal cost, and the work shifts from adding demand to managing it. That is the point where consolidation outperforms expansion. One connection to an SSP that aggregates multiple demand sources, as we do by combining exchange demand, DSPs, direct brand agency deals, and Google AdX through Google MCM into a single competing pool, gives you the price pressure of many bidders with the operational profile of one. You evaluate one integration, one timeout budget, one reporting interface, and one consent path.
The protocol still applies. Verify our sellers.json and ads.txt lines like any partner's, run the evaluation window, and hold the aggregated connection to the same four questions. Good demand, wherever it comes from, survives measurement. Demand that only performs in a sales deck does not, and a disciplined onboarding and evaluation process is how you tell the difference before it costs you a quarter.